
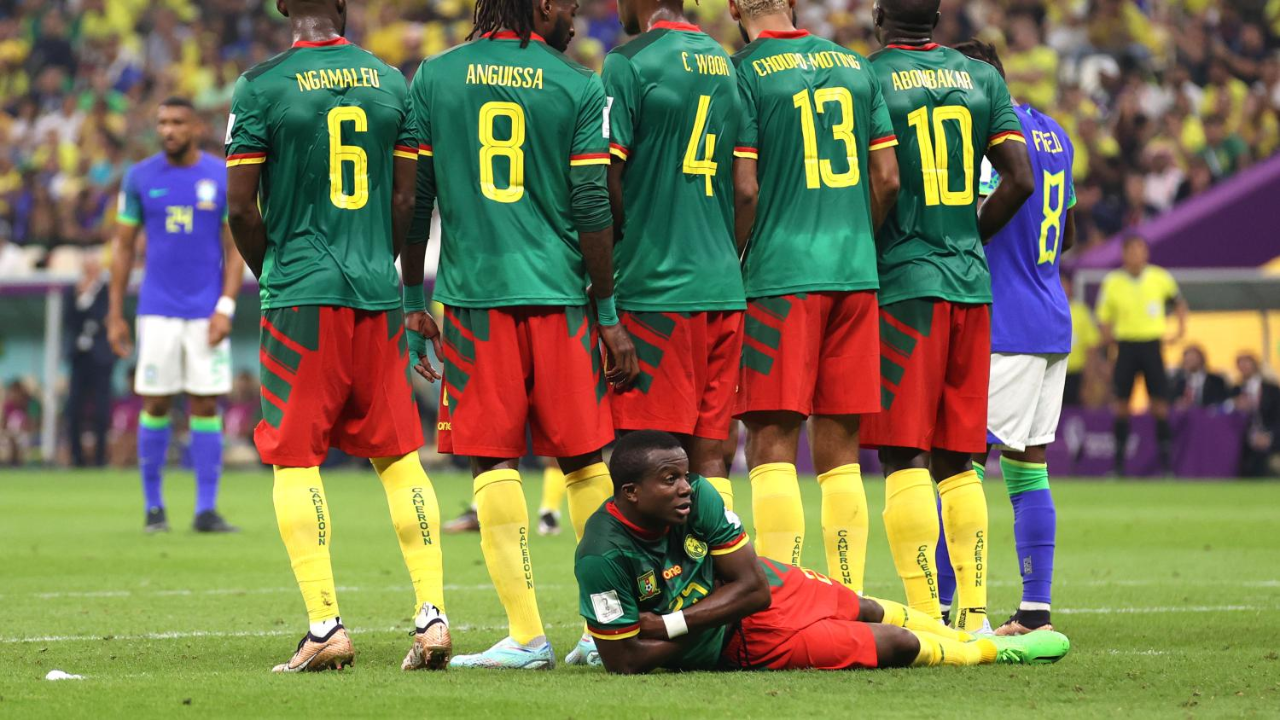

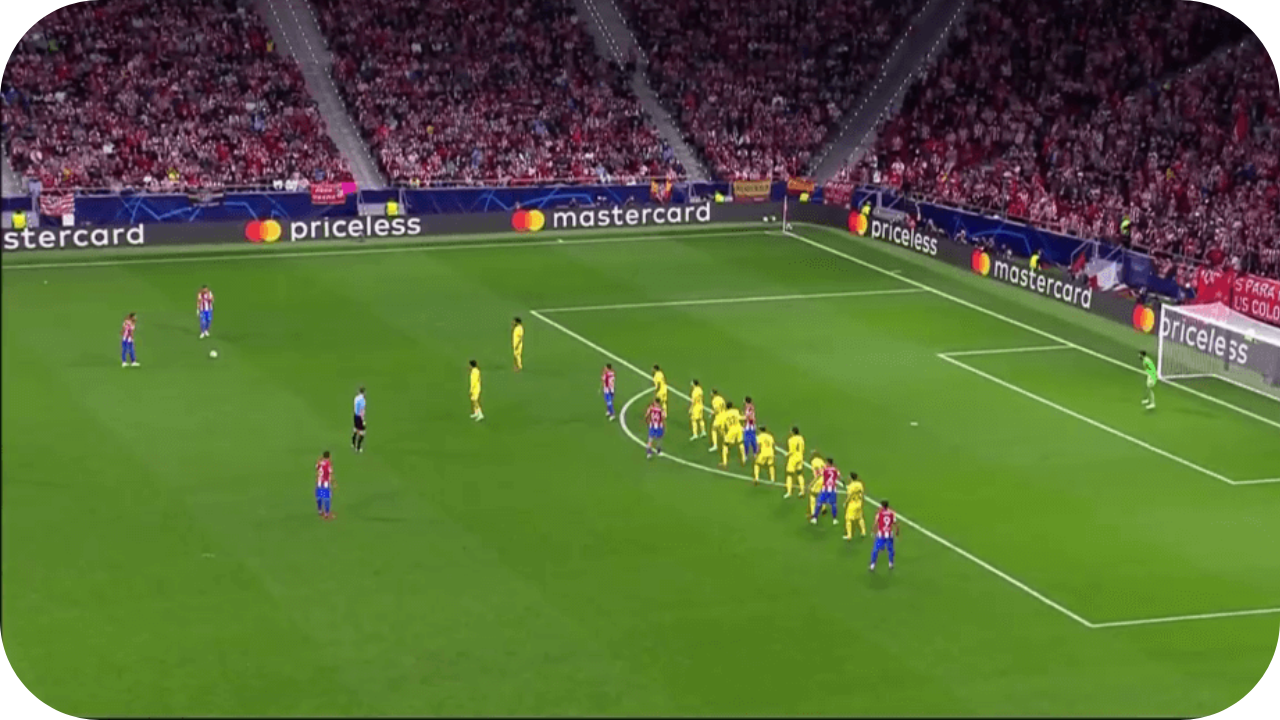
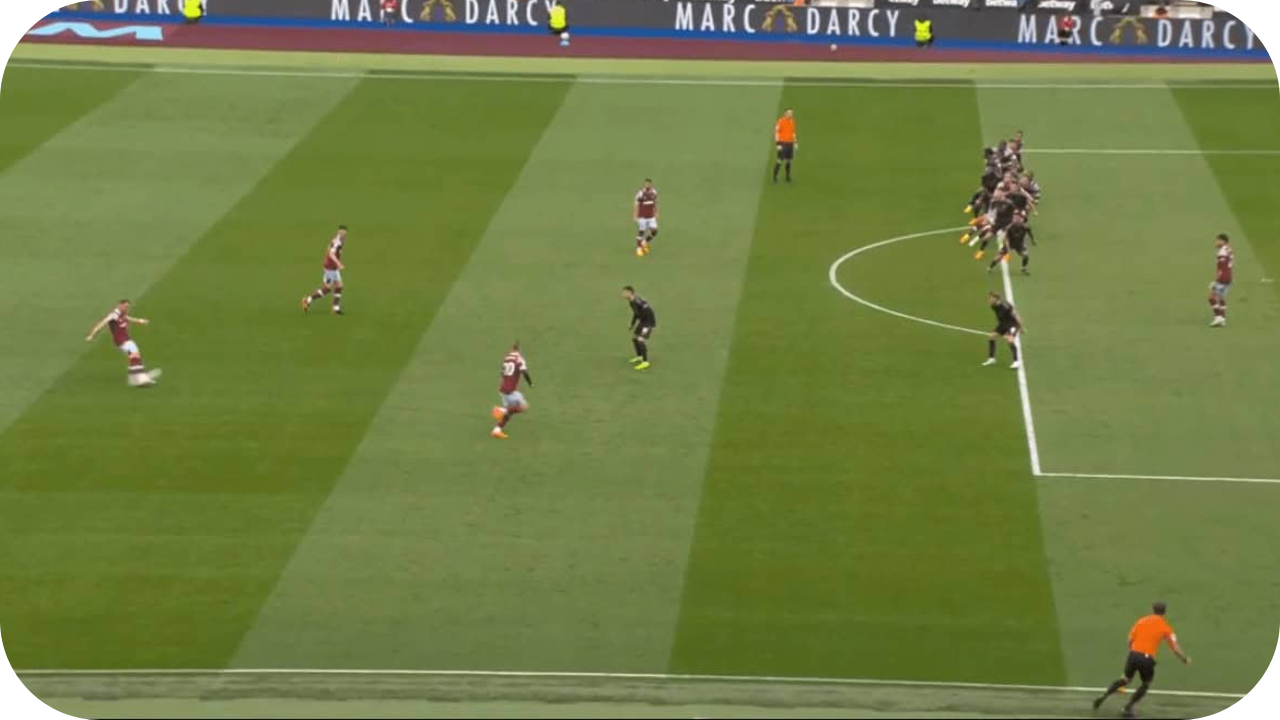
Wall Setup
The wall is the first line of defence against a direct shot. Coaches must decide on the number of players, their profiles, and their role when the ball is struck — whether to jump, stay grounded, or charge the ball. A balanced wall should protect the most dangerous side of the goal while not leaving the goalkeeper exposed.

Draught Excluder
A player lying behind the wall prevents low, under-the-wall strikes. This role is often filled by a quick, agile player willing to make a selfless defensive action.
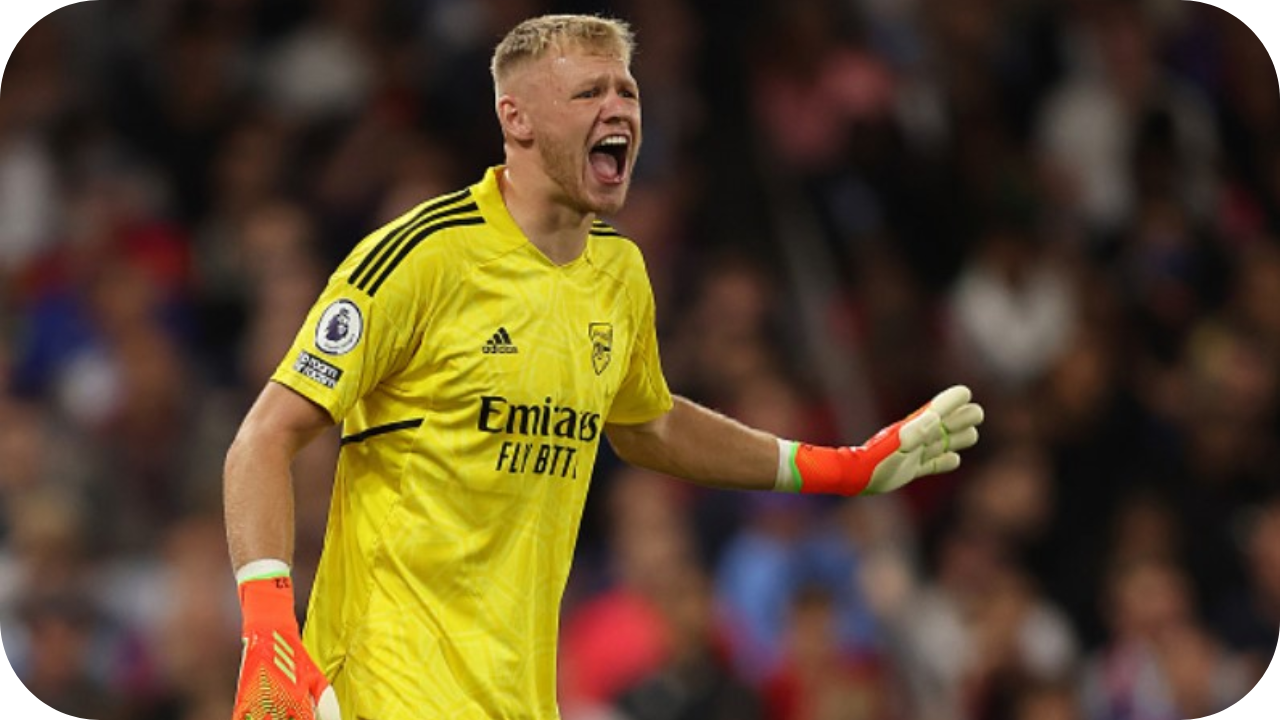
Goalkeeper
The goalkeeper is central to the organisation of the defensive setup. They usually dictate the wall’s positioning and number, ensuring their own line of sight is preserved while staying ready to react to shots around or over the wall.

Preventing Goalkeeper Obstruction
Attackers often stand in offside-but-active positions to block the keeper’s view. Assigning a defender to stay close to these players helps maintain visibility and reduces the risk of distraction or interference.
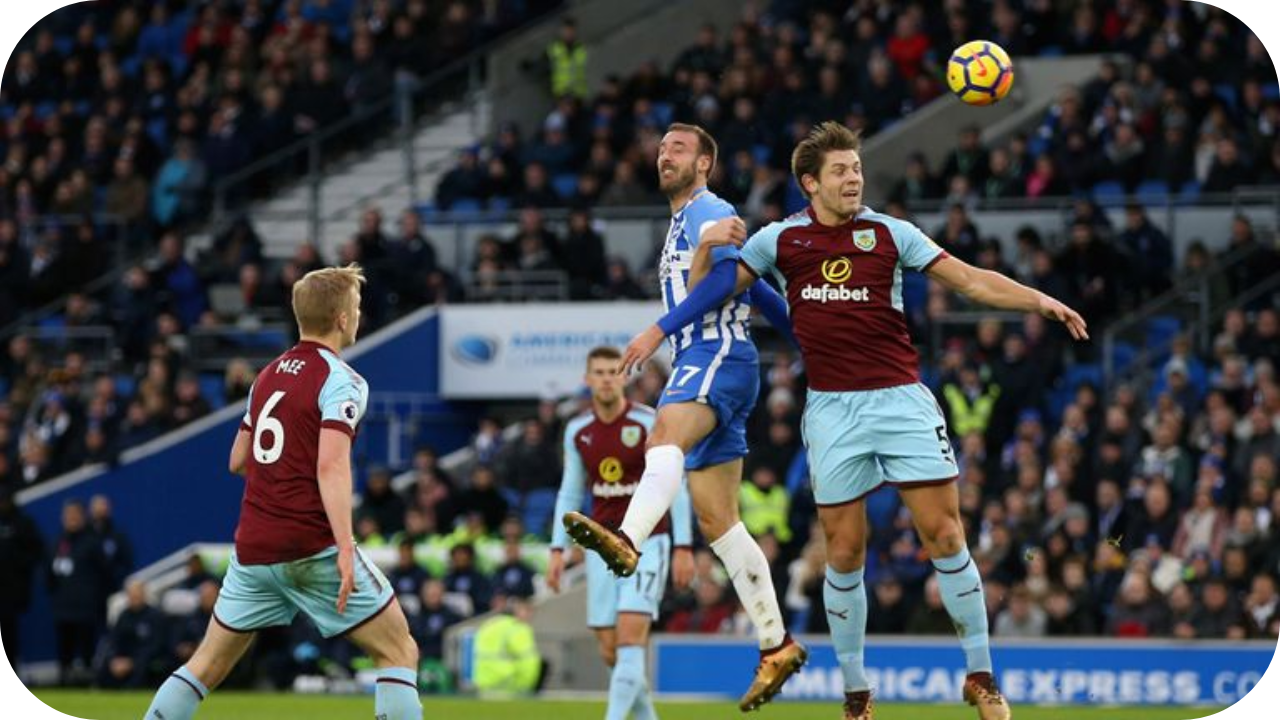
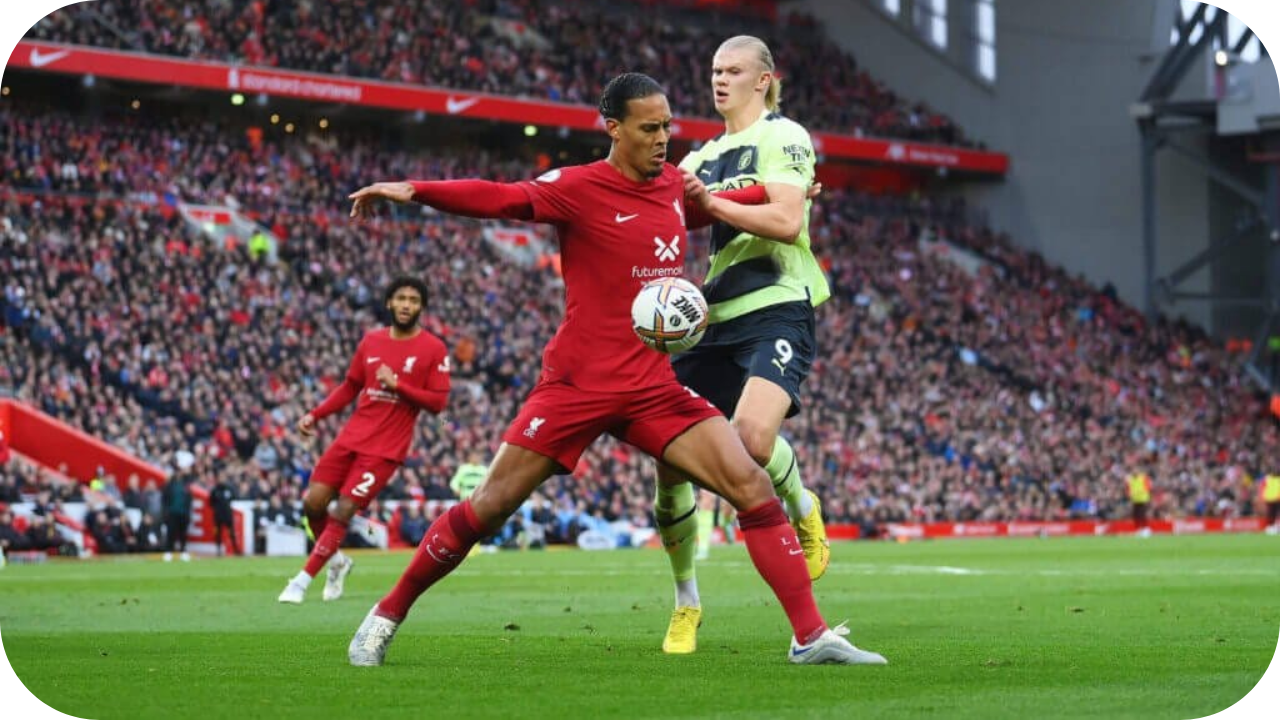
First Contact Defenders
These are your aerially dominant players, tasked with attacking the ball if the free kick is delivered into the box. Winning this first contact is critical to preventing second-phase chances.
Marking Players
Defenders must stay touch-tight to dangerous runners who attack crosses or set plays. This could involve man-to-man marking, a zonal approach, or a hybrid system depending on your team’s philosophy.
Short Option Cover
One or two players should always be alert to quickly close down short free kicks. Their positioning and reaction time can prevent the opposition from creating overloads or better shooting angles.
Tracking Second Phases
After the initial clearance, defenders must be alive to rebounds, knockdowns, and recycled crosses. Midfield players positioned on the edge of the box are often responsible for cleaning up these loose balls.
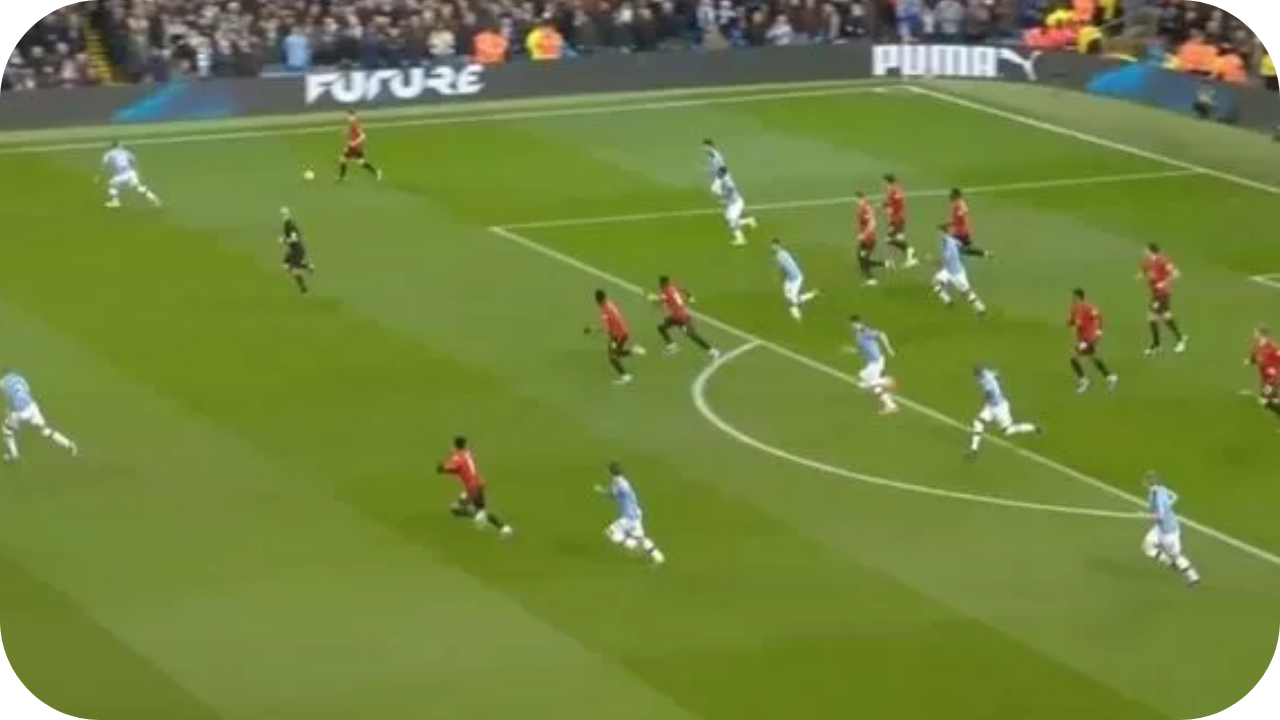
Counter-Attacking Threats
Leaving one or two players higher up the pitch can pin back opposition defenders and create a quick outlet if possession is regained. Coaches must balance this risk-reward decision depending on the scoreline and game context.