
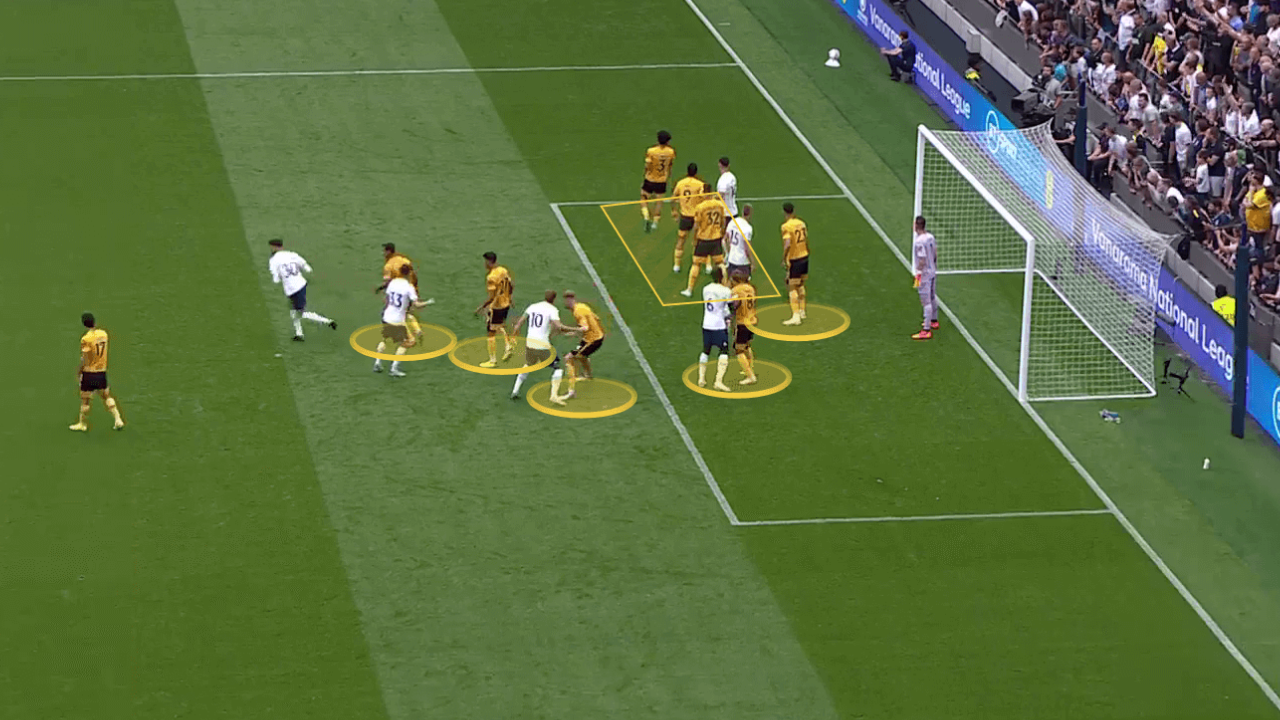
Marking Approaches
-

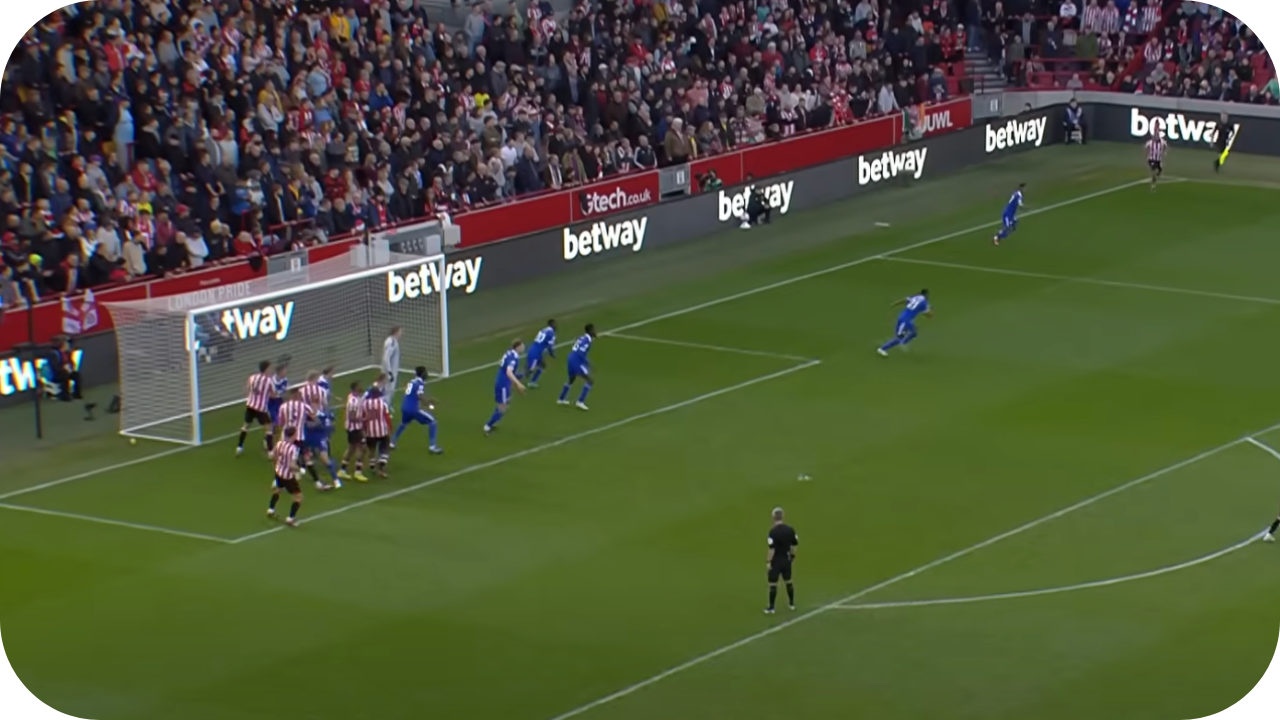
Zonal
Players defend specific areas, attacking the ball when it enters their zone. Great for organisation but requires strong aerial ability.
-

Player-to-player
Players track an individual opponent tightly. Stops dangerous runners but can be pulled out of position.
-

Hybrid
A mix of both, with some players marking zones (usually near goal) and others tracking key threats. Often the most balanced option.


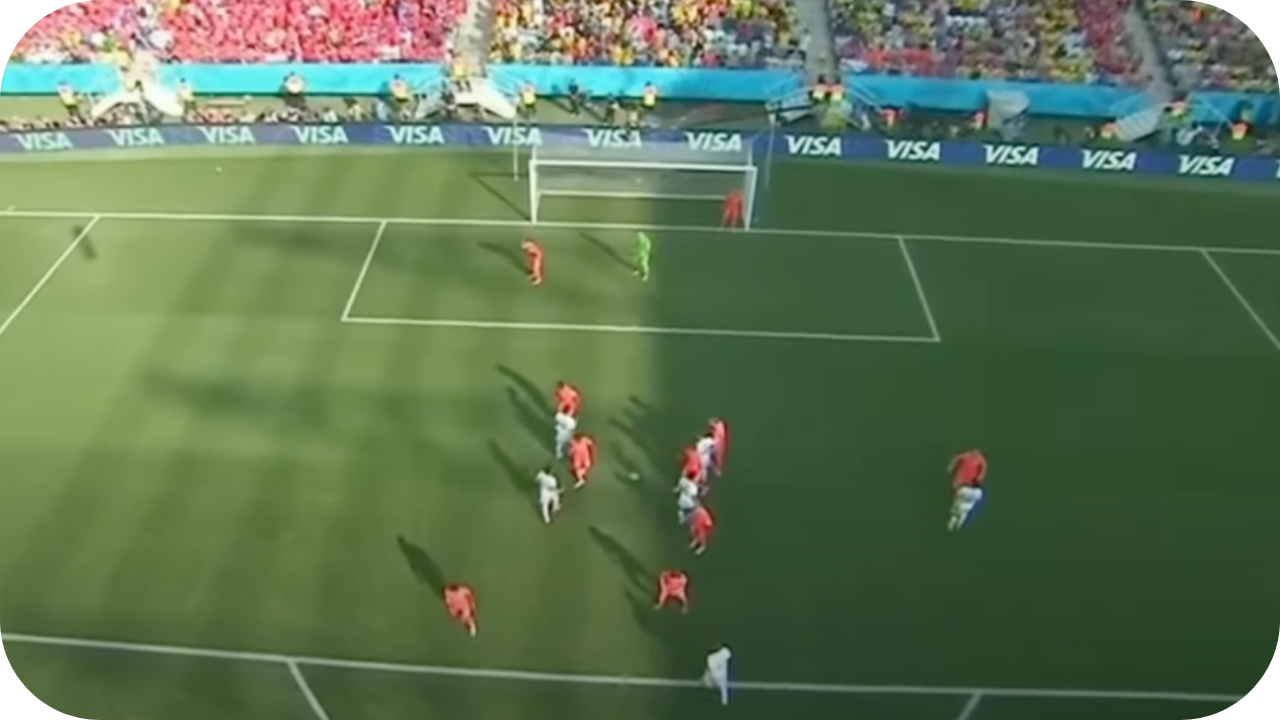
Player Roles
Players on Posts
Whether you choose to place defenders on one post, both posts, or neither can shape your defensive structure. Having players on both posts maximises coverage and reduces the risk of the ball going straight in but sacrifices numbers in the box. One post offers a balance between protection and marking capacity, while no posts keeps more players higher but leaves the goal more exposed.
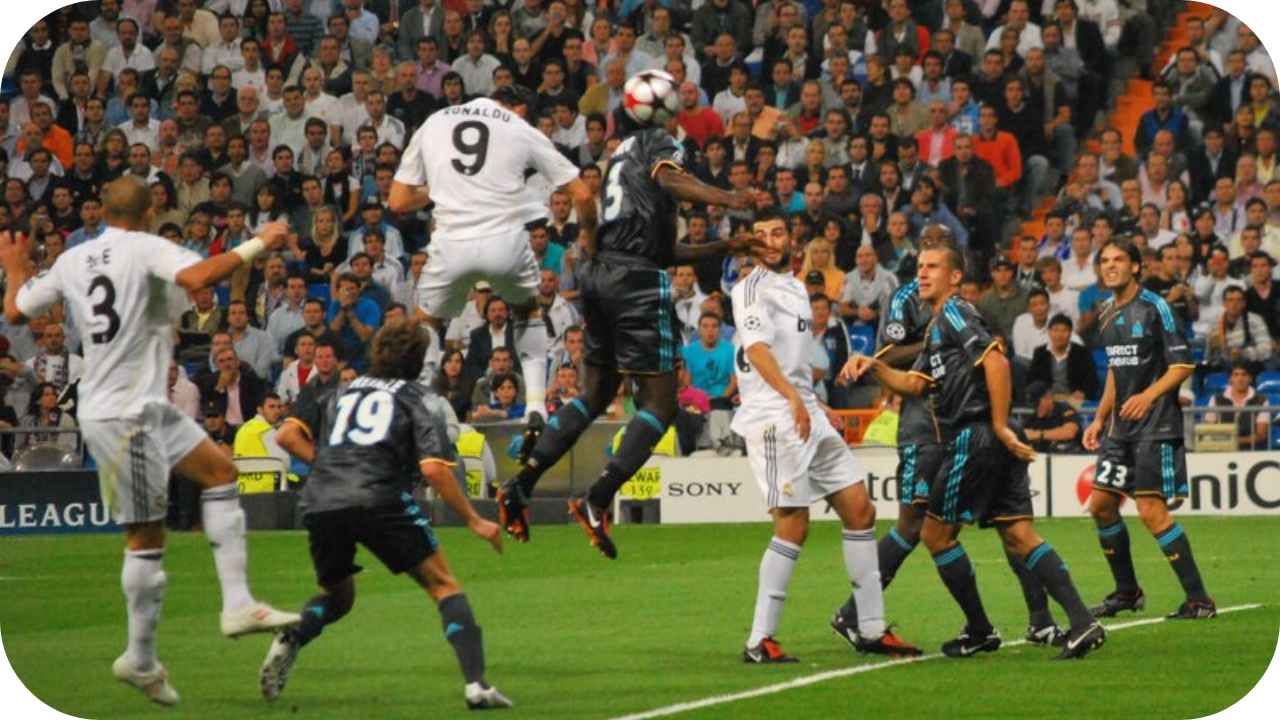
Player Profiles for Each Role
Each defensive position in a corner setup demands a specific skill set. Your first-contact winners should be strong in the air and fearless in challenging for the ball. Run blockers need to be physically resilient, able to hold ground and disrupt opposition movement. Counter-attack threats should have pace and technical quality to turn a clearance into an attacking opportunity.
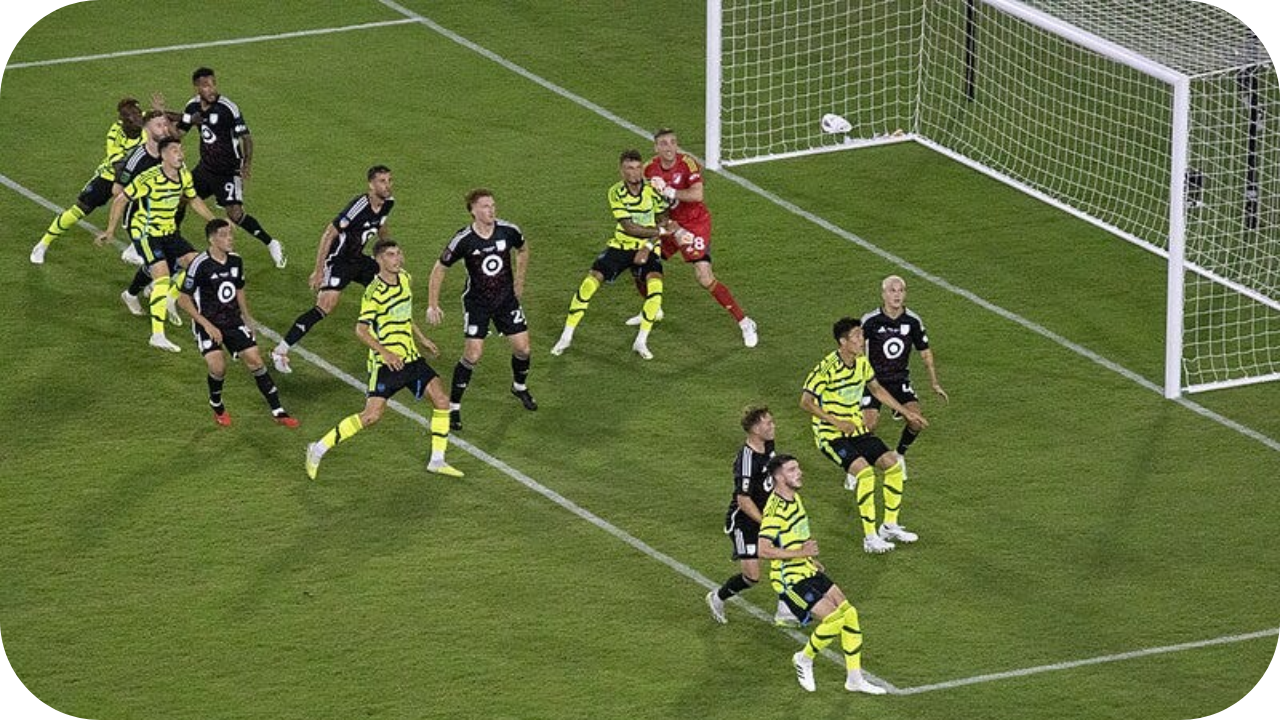
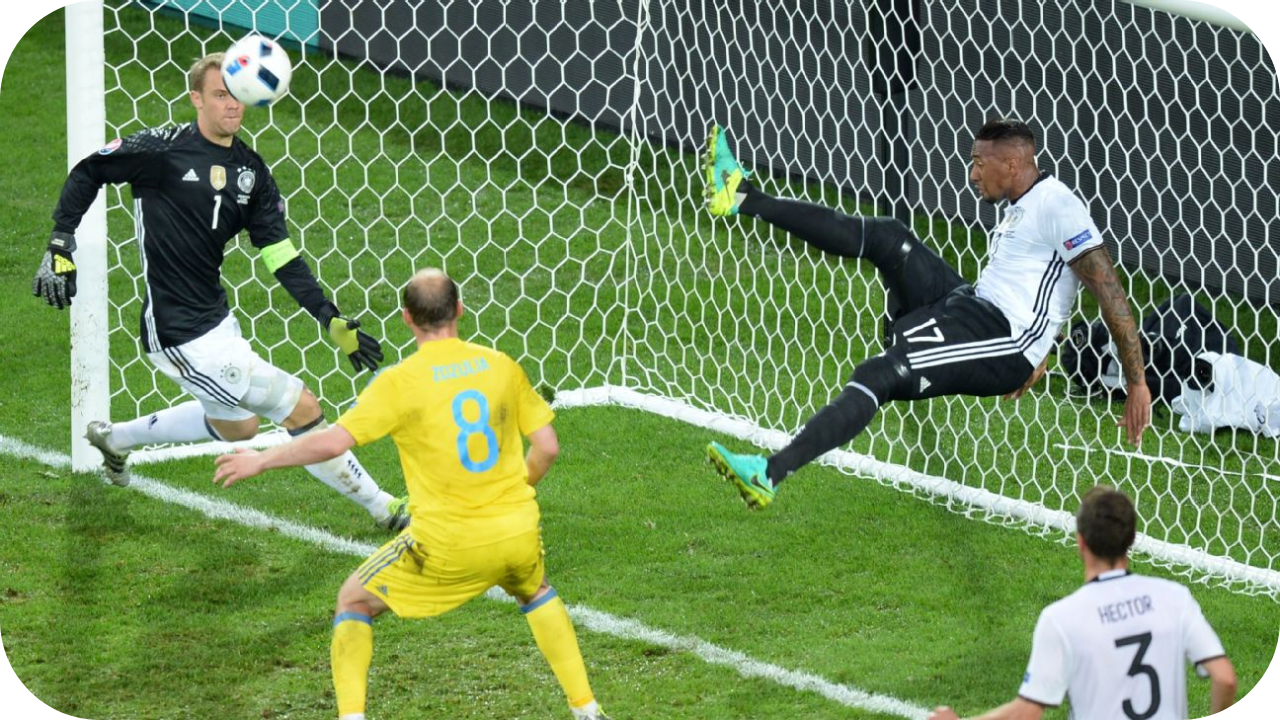
Goalkeeper Protection
A designated player can help shield the goalkeeper from interference, ensuring they maintain a clear line of sight and space to move. This role becomes crucial in crowded penalty areas where attackers may attempt to obstruct or pin the keeper.
Run Blockers
Assign players to deliberately impede the movement of opposition runners targeting key zones. Effective blockers can break the timing of attacking runs and create more opportunities for aerial defenders to win the first ball.
Second-Phase Tracking
Once the initial clearance is made, defenders must immediately reset and track opposition players ready to recycle the ball. Staying alert during the second phase prevents dangerous follow-up deliveries or shots.
Supporting Roles
Not all defenders will be directly involved in winning the first ball. Some should guard the edge of the box to handle clearances and block long shots, while others must be prepared to defend against short corners. Additionally, one or two players should be positioned to trigger a counter-attack as soon as possession is regained.

Communication Leaders
Appoint vocal leaders who can constantly direct, adjust, and reinforce the defensive structure. These players help maintain organisation under pressure, ensuring no attacker is left unmarked and everyone knows their job.
Clearances & Safety Zones
Clearances should be aimed into safe areas rather than simply kicked away. Guiding the ball wide can stop the opposition from delivering another cross immediately and buys time for the defensive line to reset.