
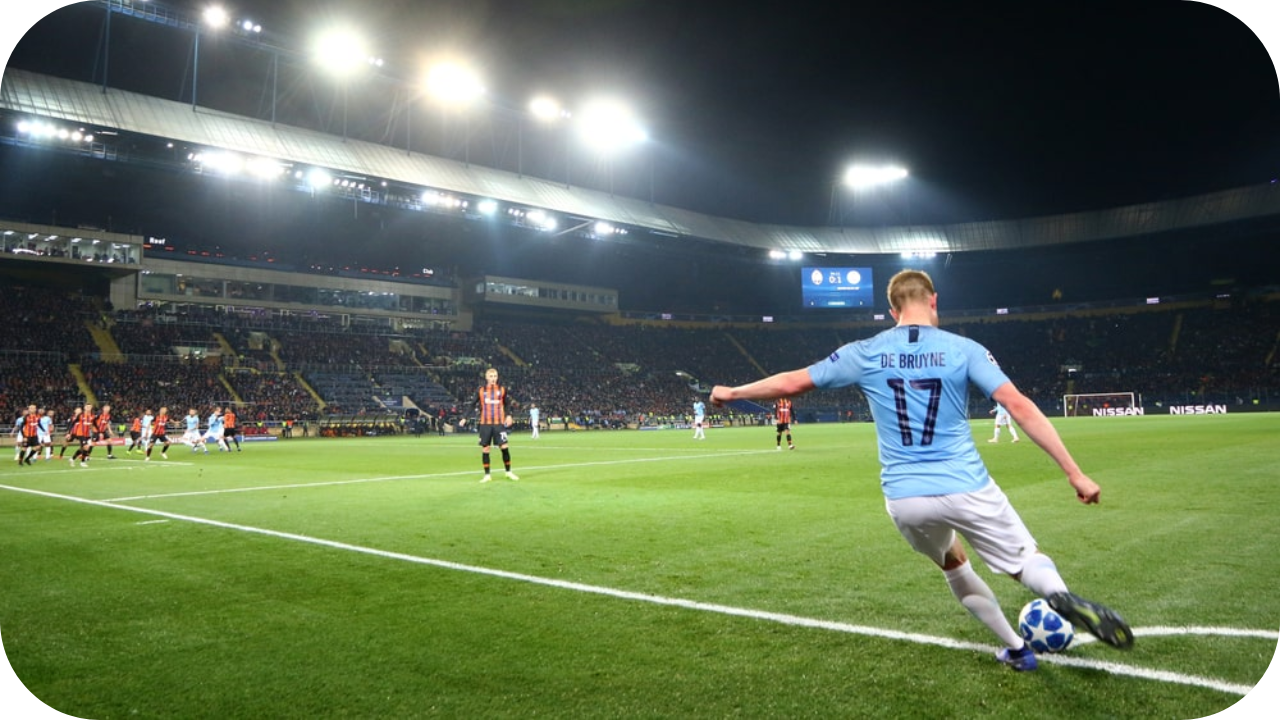
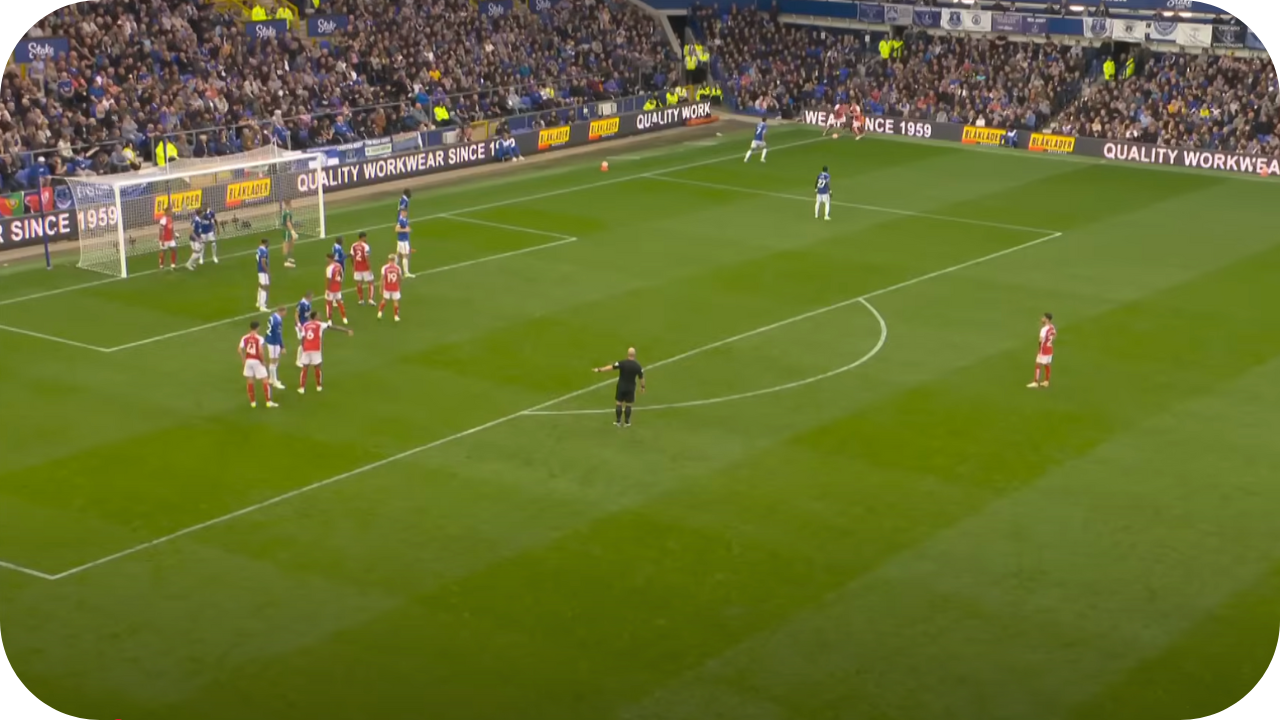
Corner Taker
The quality and shape of the delivery start with your taker. Decide whether you want an outswinger, which bends away from goal and is generally safer, or an inswinger, which bends in and can be more dangerous but easier for the goalkeeper to claim. Match the taker’s footedness and technique to the side of the pitch and be consistent unless variety is part of your tactical plan.

Target Zones & Delivery Plan
Every routine needs clarity on where the ball is going. Identify one or two main target zones, such as the six-yard line, a near-post flick area, or a back-post overload. Keep the opposition guessing by mixing up deliveries, but ensure your players always know exactly which zone they’re attacking.
First Contact Objective
Before the ball is struck, your team should know exactly what the first touch is aiming to achieve. Is it a direct attempt on goal, a flick-on to the far post, or a controlled knock-down for a second contact? This decision shapes both the delivery and the movement patterns.
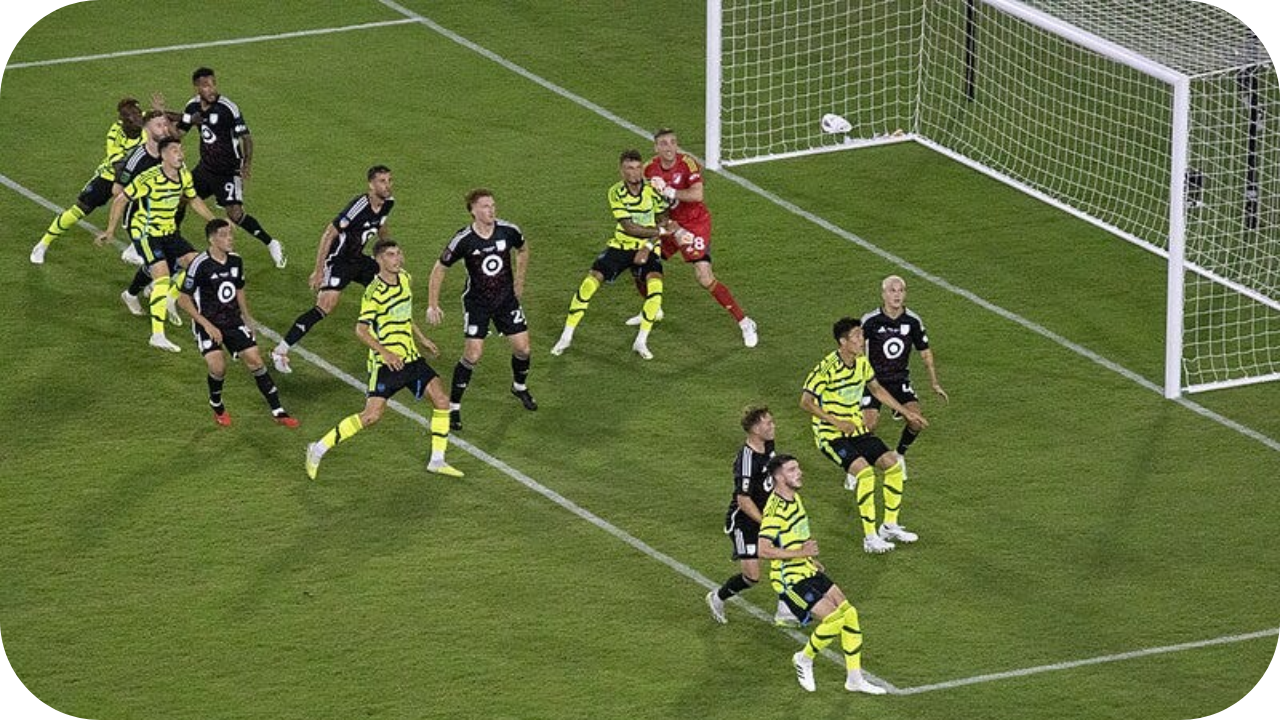
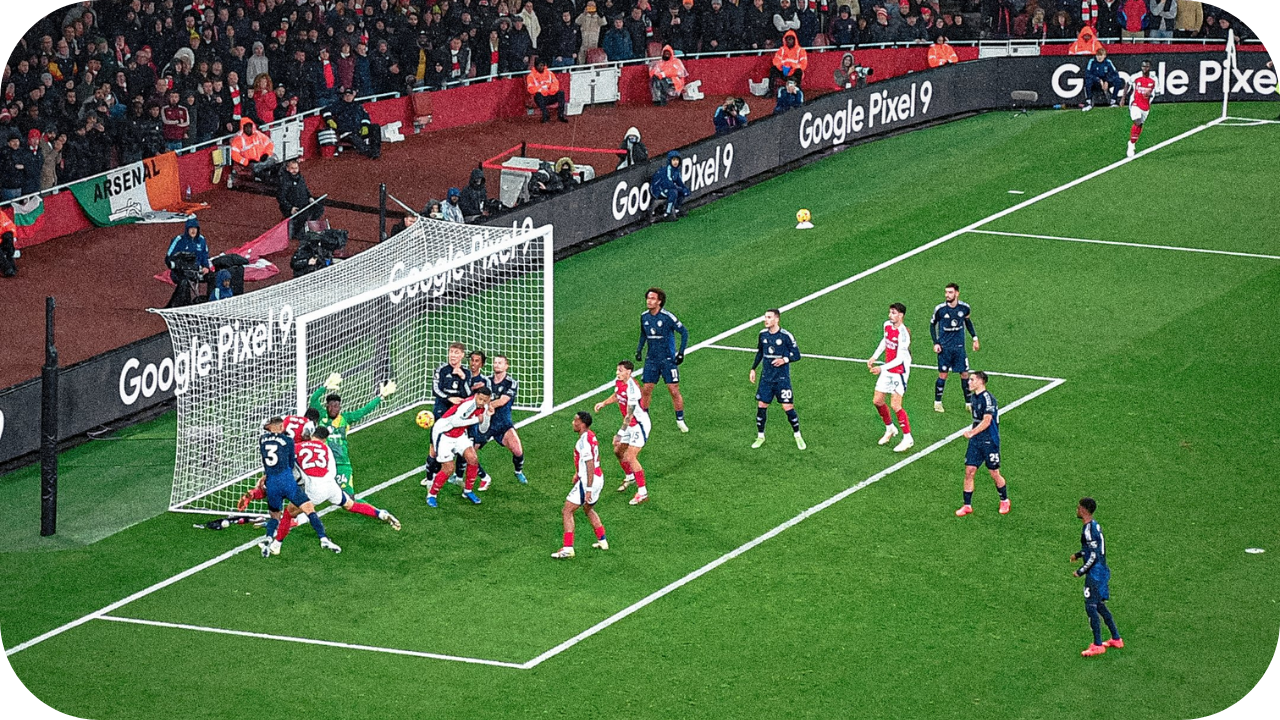
Keeper Blocker
Assign a player to occupy the goalkeeper’s space and limit their movement, but stress the importance of doing it legally. Subtle positioning and movement are often more effective than physical contact, which risks conceding a free kick.
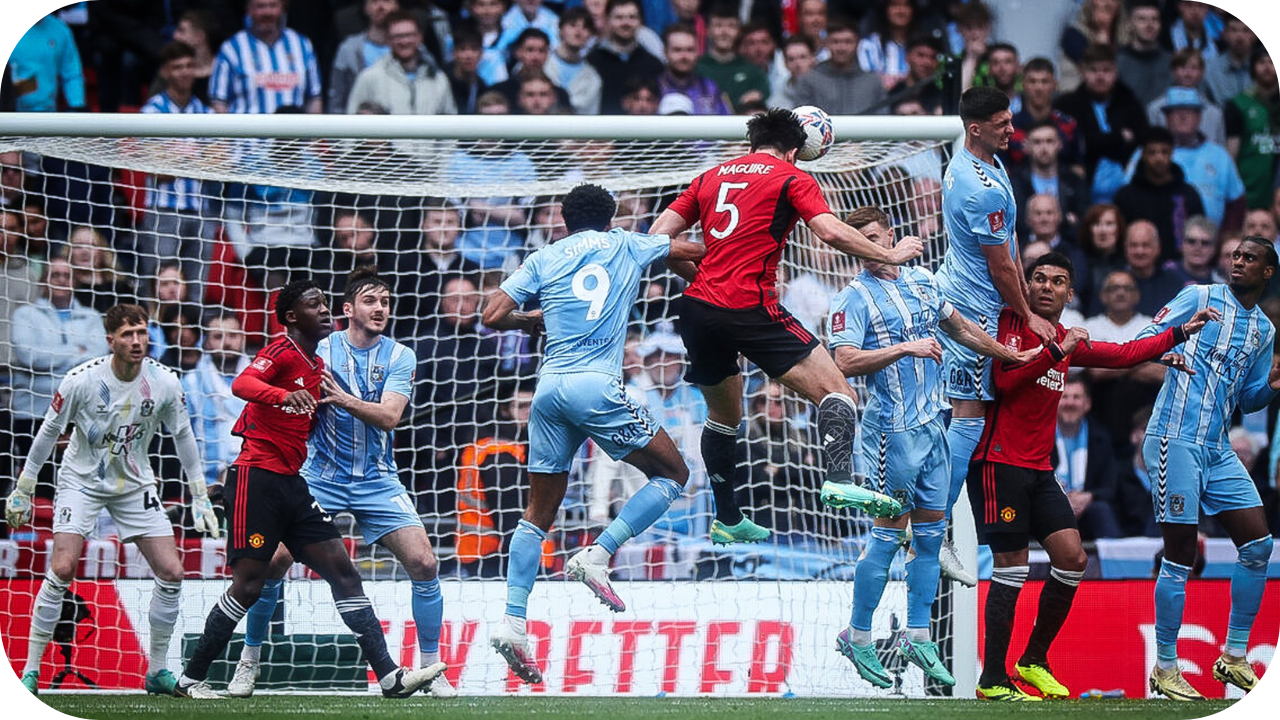
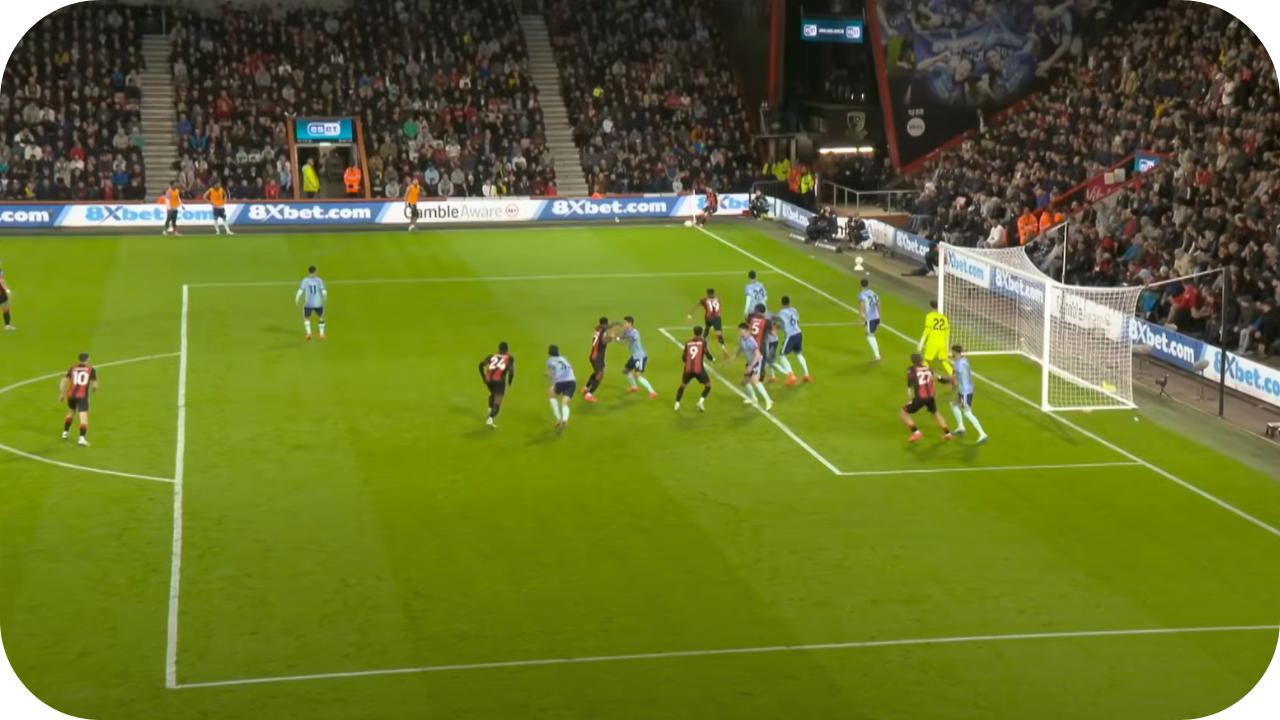
Blocking & Screening Runners
Your biggest aerial threats need space to attack the ball. Use teammates to block or screen their markers at the right moment, giving them a clear run and jump. These blocks must be timed and executed carefully to avoid being penalised.

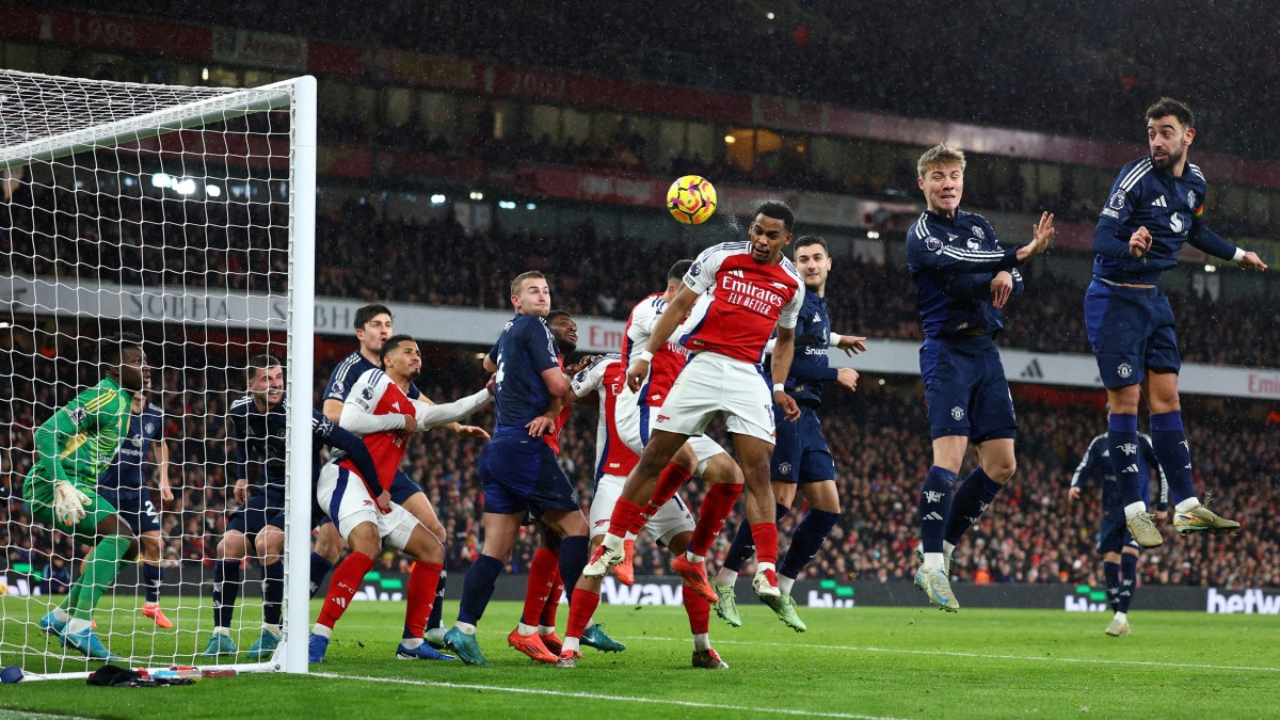
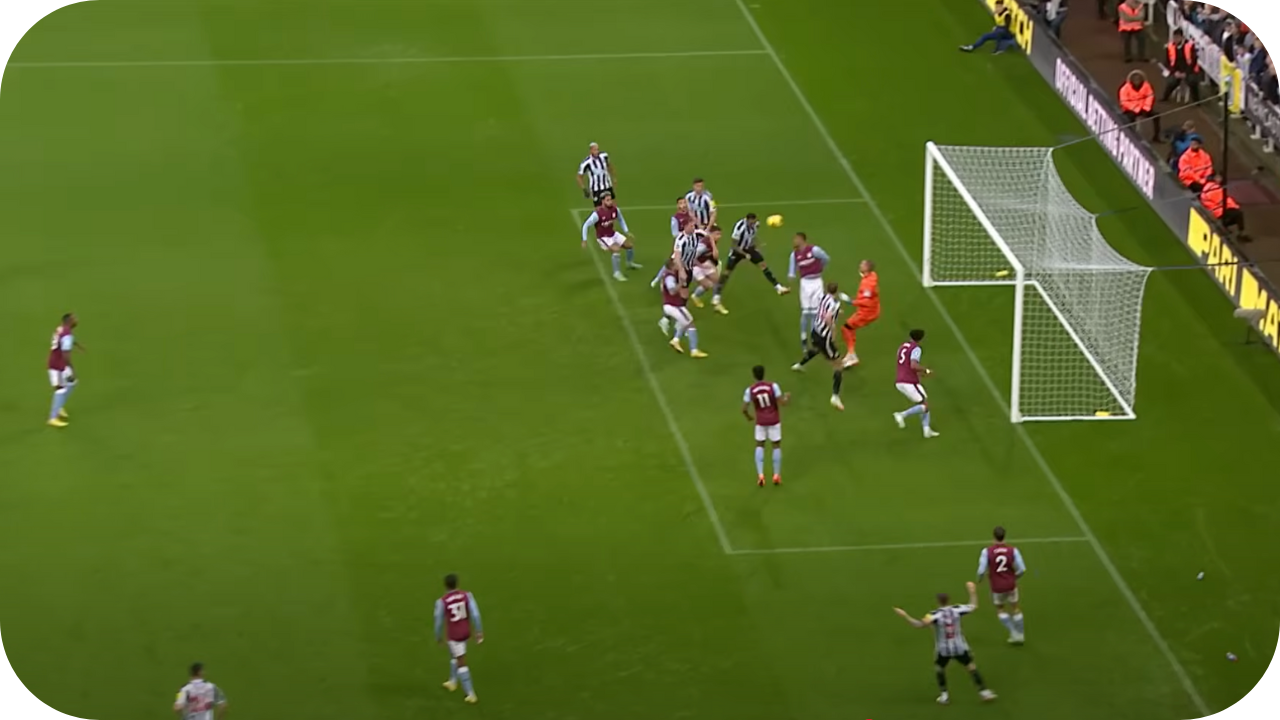
Primary Aerial Threats
These are usually your taller, more powerful headers of the ball. They should time their runs to meet the delivery at full speed and jump height, attacking the target zone with conviction and aggression.
Secondary Attackers
Not every ball will reach your main target. Secondary attackers anticipate deflections, flicks, and rebounds, reacting quickly to turn half-chances into goals. They’re often your sharp, alert forwards or midfielders.
Edge of Box Presence
Positioning one or two players just outside the area provides both an attacking and defensive benefit. They can strike on goal from clearances, recycle possession, or stop an immediate counter-attack if the opposition breaks.
Counter-Press / Defensive Cover
Corners are a risk if you overcommit. Always leave at least one player slightly deeper outside of the box (often a smaller player) to guard against the counter-attack. If the opponent leaves fast players high, you may need an extra defender back.

Variety & Deception
The best set-piece teams keep defences unsettled. Mix in short corners, overloaded zones, or decoy runs to pull defenders out of position. Practise the triggers so players know when to switch from the plan to a quick-thinking alternative.


